Windows Build
This document covers the build and execution instructions for Plaid on Windows.
Plaid has the following library dependencies:
- curl
- OpenSSL (or another libcurl supported TLS library)
- xerces 3.1+
Pre-built binaries for these libraries are provided in a file called install.zip. The files can be downloaded from here: https://app.box.com/s/gnkmook0tl95r4qvunprlacphtc9tlan.
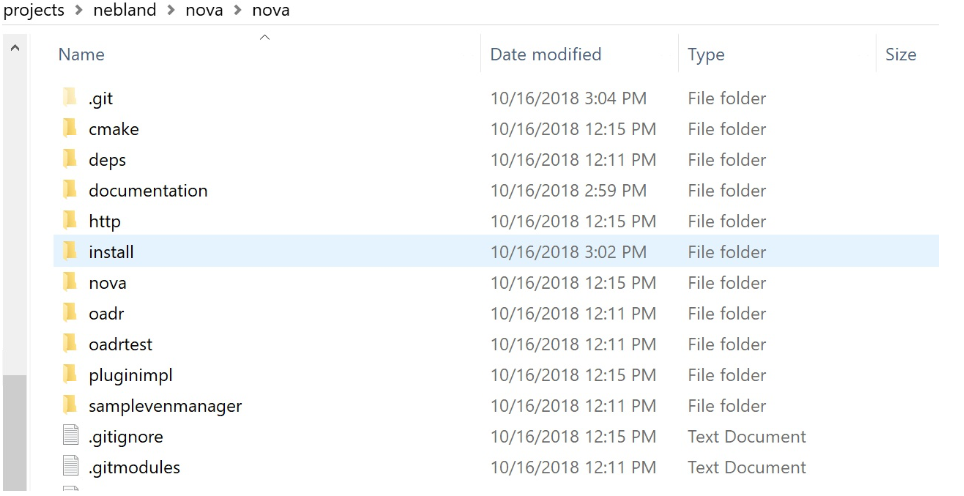
Extract the install directory from install.zip and move nova-source-root\install:
Instructions for building the 3rd party libraries are in section Build Third Party Dependencies. Its far easier to use the pre-built binaries, but instructions are provided for situations where the build settings chosen for the pre-built binaries don't match the target system (run 32 bit instead of 64 bit for example).
Plaid Build
Plaid uses cmake and Visual Studio 2015 to build. CMake Windows binaries can be installed from here: https://cmake.org/download/. Visual Studio 2015 is available from Microsoft. Newer versions of Visual Studio should work but will need to set the platform toolset to Visual Studio 2015 (v140).
The Windows build creates two components built in separate steps:
- nova.exe: executable
- nova-notifierhttp-plugin.dll: sample plugin
Nova.exe uses CMake to generate a Visual Studio project and is built from the command line. To aid in building and debugging the plugin, a hand built Visual Studio project is provided for building the sample plugin nova-notifierhttp-plugin.dll.
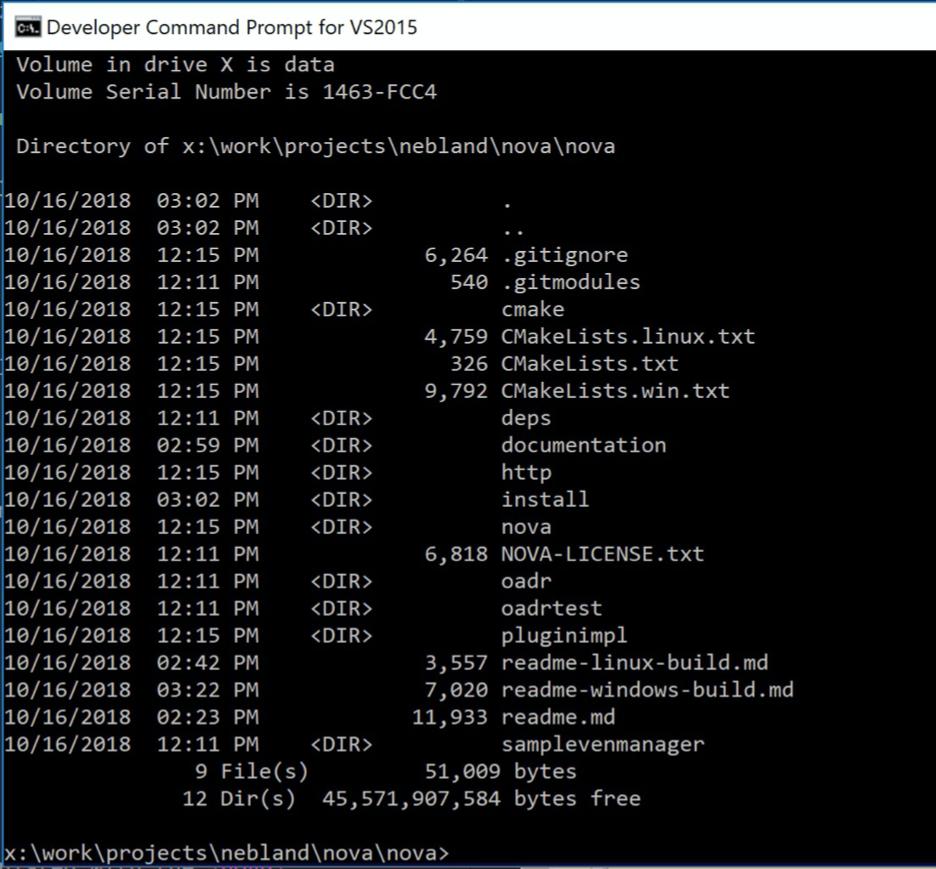
The following commands must be run from a Visual Studio developer command prompt. Start a prompt in the Plaid source root directory.
Plaid Release
To build Plaid in release mode, run the following commands in a Visual Studio 2015 command prompt from the root of the Plaid source:
mkdir build\release && cd build\release
cmake -G "Visual Studio 14 2015 Win64" -DCMAKE_BUILD_TYPE=Release ..\..
cmake --build . --config Release
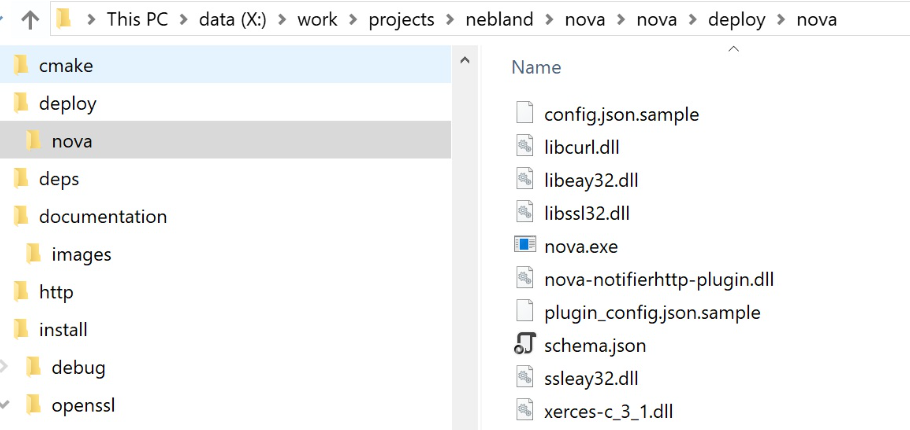
After building the plugin (see below) and Plaid In release mode, everything needed to run Plaid is copied to nova-source-root\deploy:
Plaid Debug
To build plaid in debug mode, run the following commands in a Visual Studio 2015 command prompt from the root of the Plaid source:
mkdir build\debug && cd build\debug
cmake -G "Visual Studio 14 2015 Win64" -DCMAKE_BUILD_TYPE=Debug ..\..
cmake --build . --config Debug
The executable built in debug can be used to debug the plugin. The plugin build (covered below) will copy the debug Plaid build along with all binaries need to run NOVA into the plugin output directory.
Sample Plugin Build
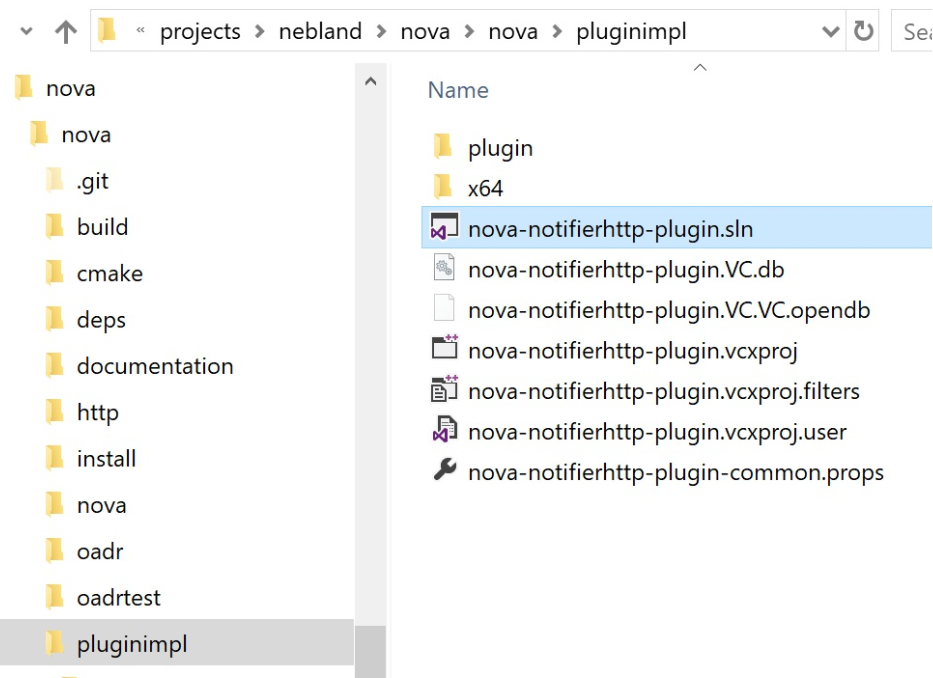
A pre-built Visual Studio project is provided for the sample plugin in pluginimpl\nova-notifierhttp-plugin.sln. Prior to building the plugin, follow the instructions above to build Plaid for debug or release.
Plaid and the plugin require a config file. Before starting the plugin build, rename the following files:
- config.json.sample in
nova\nova\config\to config.json - plugin_config.json.sample in
pluginimpl\plugin\http\configto plugin_config.json
Follow the instructions in Configuring Plaid to set the parameters in the config file, and the Plugin section for the sample plugin.
The Visual Studio debug build contains a post-build step to copy config.json and plugin plugin_config.json and all binaries needed to debug the plugin to the plugin output directory.
Next, Open the Visual Studio project file found in pluginimpl/nova-notifierhttp-plugin.sln:
Change the build type to Debug or Release to match the corresponding build type selected for Plaid: the Plaid build type and plugin build type must match.

Start the build by selecting Build -> Build Solution from the menu.
The final step of the build will copy files to the plugin debug output directory when in debug mode or to deploy in the Plaid source root directory when in release mode. The deploy directory contains everything needed to run Plaid in release mode. The plugin debug output directory contains everything needed to debug the plugin from Visual Studio.
Debugging the plugin
When built in debug mode, the plugin can be debugged from the Visual Studio solution. Executing the debugger will launc ha debug build of NOVA. Breakpoints set in the IDE will be hit when NOVA calls the callbacks in the plugin. The image blow shows a breakpoint triggered in the OnOadrMessageSent calblack:
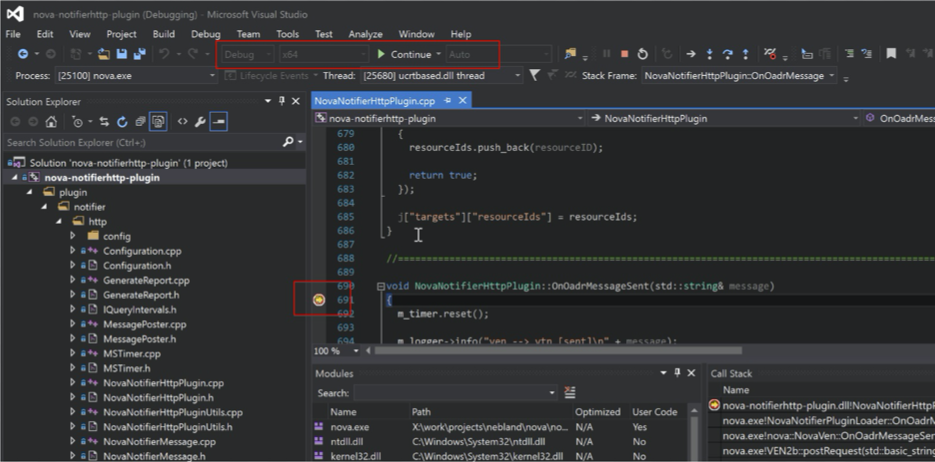
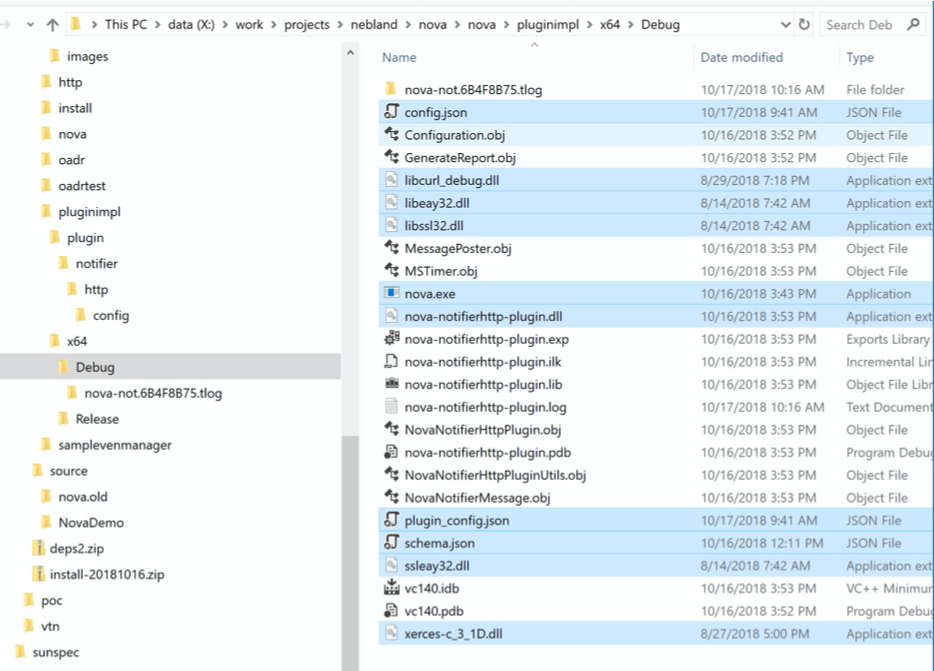
The project is pre-configure to run nova.exe from the plugin output directory. Files involved with running NOVA are highlighted below for reference:
Running Plaid
Plaid is executed from the command line and takes two parameters: a path to a json formatted schema file (which describes the Plaid config), and the path to a config file. See the sample file nova-source-root\nova\config\config.json.sample.
In a release build, the outputs of the build are copied to nova-source-root\deploy\nova. To run Plaid using the default plugin and default NOVA config, execute the following command from nova-source-root\deploy\:
.\nova.exe schema.json config.json
Build Third Party Dependencies
Binaries of the third party dependencies used by Plaid should be downloaded from this public github project: https://github.com/gridfabric/plaid-deps/releases/tag/v1.0.1. The following instructs building these binaries from source.
Openssl
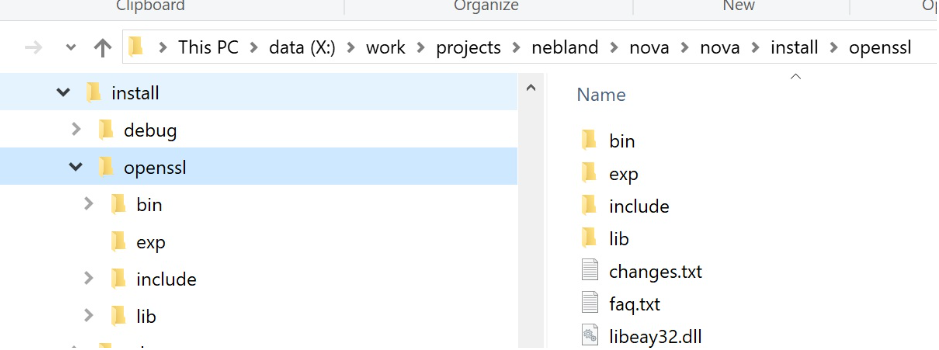
We use the installer from Shining Light: https://slproweb.com/products/Win32OpenSSL.html. Plaid expects the binaries to be located at nova-source-root\install\openssl. Note the openssl installer will try to append another directory past nova-source-root\install\openssl, so be sure to remove this directory from the installer path.
If installed correctly, the nova-source-root\install\openssl directory will have bin, include, and lib directories:
curl
The source for curl is provided in deps\curl. To build curl, run the following
commands from nova-source-root:
cd deps\curl
.\buildconf.bat
cd winbuild
nmake /f Makefile.vc  VC=14 MACHINE=X64  mode=dll ENABLE_WINSSL=no DEBUG=no WITH_SSL=dll WITH_DEVEL=..\..\..\install\openssl
This creates a directory that will be named similarly to nova-source-root\deps\curl\builds\libcurl-vc14-X64-release-dll-ipv6-sspi-winssl that contains bin, include, and lib directories. Copy the bin, include, and lib directories to nova-source-root\install\release\curl\ directory.
Note that the WITH_DEVEL option tells curl where to find openssl, so be sure to install openssl as outlined in this document prior to building curl.
To create a release build, change DEBUG=no to DEBUG=yes and copy the files to nova-source-root\install\debug\curl\ when the build completes.
Xerces
Xerces is built using Visual Studio. The procedures outlined below are for a release build. Replace "release" with "debug" for a debug build.
- Open
nova-source-root\deps\xerces-c\projects\Win32\VC14\xerces-all\XercesLib\XercesLib.vcxprojwith Visual Studio 2015 - Change the build to Release and x64 using the combo boxes under the menu
- Build XercesLib by right clicking and selecting Build.
- Copy
nova-source-root\deps\xerces-c\build\Win64\VC14\Release\xerces-c_3_1.dlltonova-source-root\install\release\xerces\bin\ - Copy
nova-source-root\deps\xerces-c\build\Win64\VC14\Release\xerces-c_3.libtonova-source-root\install\release\xerces\lib\ - Copy
nova-source-root\deps\xerces-c\srctonova-source-root\install\release\xerces\src - Rename
nova-source-root\install\release\xerces\srctonova-source-root\install\release\xerces\include